Being in a rush, having shaky hands, or living with children can all add that risk factor when it comes to painting your nails! Any one of the above can combine with nail varnish to produce spectacularly colourful stains.
But our step by step guide to tackling nail polish stains will help you navigate the manicure minefield.
a hard stain.
The hardest thing about nail varnish stains is that they set hard!
The chemicals are designed to dry hard on your nails and so they’ll do the exact same thing into the fibres of your clothing. This means they’ll need a little patience and attention to remove successfully.
Before using our 5 step guide to removing nail polish stains, here are some helpful tips:
-
Blot the stain - don’t rub! Rubbing pushes the polish deeper into the clothing.
-
Tackling nail varnish stains once they are dry is best.
-
These steps work best on cotton, nylon, linen and polyester.
-
Delicate fabrics will need professional dry cleaners.
-
Test the steps on a discreet bit of your clothing first.
-
Acetone dissolves acetate so make sure your clothing doesn’t contain any.
-
Tumble drying sets nail polish further so don’t tumble until the stain has gone.
you will need…
- Clean cloths
- Rubber gloves
- A spoon
- Acetone (nail varnish remover)
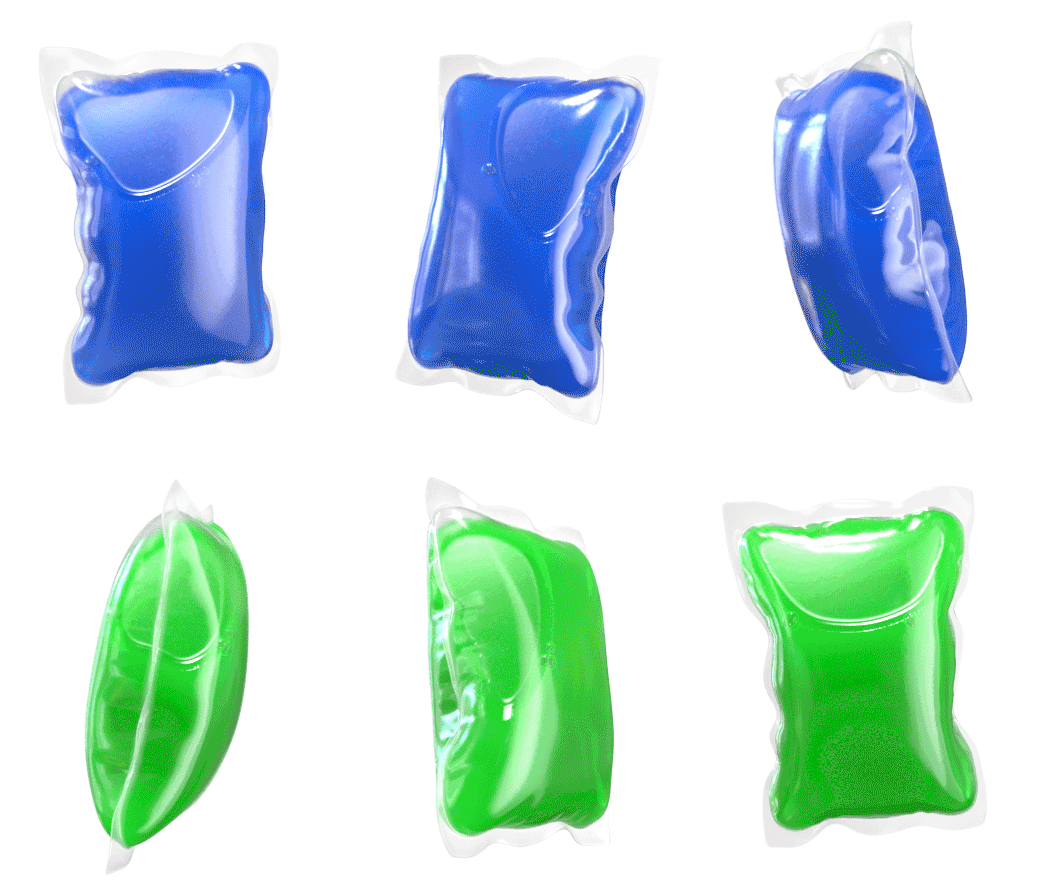
- smol laundry capsules
how to remove nail polish from clothes:
step 1. remove excess.
If the nail varnish is still wet… let it dry first.
If you don’t want to wait around you can put a bag of ice onto the back of the nail varnish stain to speed up the drying. Then take a spoon and gently scrape the hardened nail polish from the fabric. Take your time, you don’t want to damage the fibres. Continue until you have picked away most of the polish.
step 2. acetone time.
Pop on your rubber gloves.

Pick a hidden patch on your item like a seam, and dab it with a clean cloth dipped in acetone. This is the best way to see if your clothing is going to be ok with the chemical. If you don’t see any colour change etc then you’re good to go.
Place another clean dry cloth underneath the stain to protect any other areas of your clothing and start to gently blot at the nail varnish stain with the cloth dipped in acetone. Start at the stain edge and work inwards.
You’ll probably need to swap out which area of the cloth you are using for clean areas quite often so you don't re-apply the polish back onto the treated stain.
step 3. rinse.
Hold your item of clothing under a cold running tap to rinse out any remaining acetone.
step 4. a smol wash.

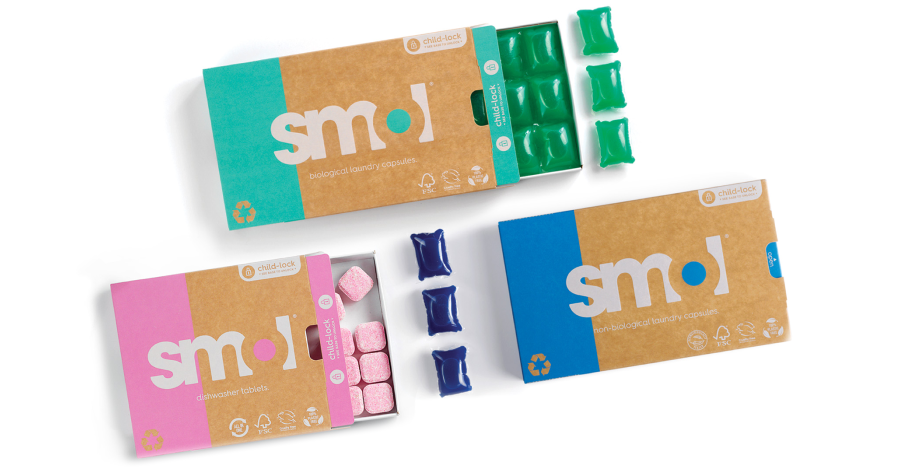
Check your clothing care label, pop your item in the washing machine with your smol laundry capsule (bio or non-bio) and select the recommended wash cycle.
When the cycle has finished, check to see if any of the stain remains. If there are still signs, don’t let the clothing dry and repeat the steps above.
step 5. dry.
Once you are completely happy that no sign of the nail varnish stain remains, then you can go ahead and dry your clothing as normal.
And while we’re on the subject of stains don’t forget our superb bleach-free stain gel. It’s a real favourite with smol customers and its powerful enzyme technology makes short work of most common everyday household stains whilst keeping colours safe.
LAUNDRY FREE TRIAL